How to Zero a Rifle: 6 Easy Steps for an Accurate Zero
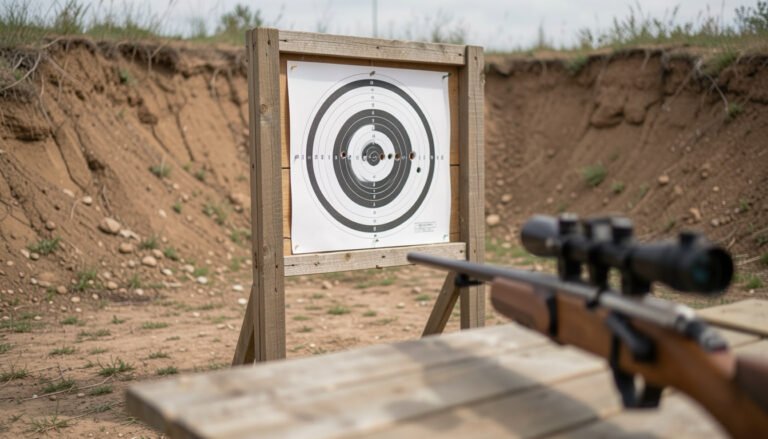
To zero a rifle, you adjust the sights or scope so the bullet hits exactly where you aim at one chosen distance. Most shooters do this in a few steps: check the gear, bore sight, fire a group at 25 yards, adjust the turrets, then confirm at 100 yards.
The distance you pick is your zero range. At that range, your point of aim and point of impact are the same spot. Closer or farther away, the bullet will land a little low or high, depending on the cartridge.
A good zero takes patience more than skill. You need a stable rest, consistent ammunition and a scope that is mounted properly. Get those three right and you can often finish in under 20 rounds.
This guide walks you through the whole process, including how to read your scope clicks and avoid the mistakes that ruin a zero. Keep reading and you will leave the range with a rifle you can trust.
Key Takeaways
- Tighten the scope rings, bases and action screws before you fire a single shot. A loose part makes a stable zero impossible.
- Bore sighting and starting at 25 yards save ammunition and get you on paper fast.
- Shoot a group of three to five shots from a solid rest, then adjust to the center of the group, not to a single shot.
- Always confirm your zero at the final distance, usually 100 yards, with the same ammunition you plan to use.
- Follow basic safety rules at all times: treat every gun as loaded, keep the muzzle in a safe direction and keep your finger off the trigger until you are ready to fire.
Check Your Gear and Tighten Every Screw
Before you head to the range, make sure the rifle is mechanically sound. All the ammo in the world will not zero a loose scope. Check the ring screws, the base screws and the action screws. Any wobble can throw your shots off, and you may not notice until it matters.
Make sure the scope is mounted level and with comfortable eye relief. If you are mounting it yourself, tighten the ring screws evenly and in small increments. If you are not confident, ask a qualified gunsmith to do it. Mounting is the foundation of everything that follows.
What to Bring
- Eye and ear protection
- Your rifle, unloaded, in a case
- At least two boxes of the same ammunition you will use for hunting or shooting
- Sandbags, a bipod or a front-and-rear rest
- Paper targets, ideally with a one-inch grid
- A small screwdriver or the correct tool for your turret caps
- A spotting scope or binoculars, if your range is long
Ammunition matters more than people think. Different loads can hit in different places, so zero with the exact load you plan to use. A grid target also helps because you can measure how far your group sits from the bullseye.
Set Up a Safe Range and a Stable Rest
Use a proper range or a safe, legal location with a solid backstop. Follow every range rule and the range officer’s instructions. Rules about where you can shoot differ by location, so confirm them with your local authorities or the range itself.
Keep the rifle unloaded until you are on the firing line and ready. Treat every gun as loaded. Keep the muzzle pointed downrange, and keep your finger outside the trigger guard until the sights are on target.
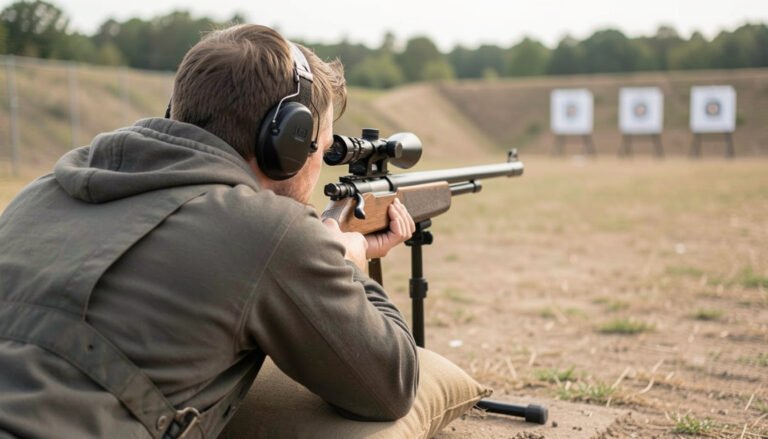
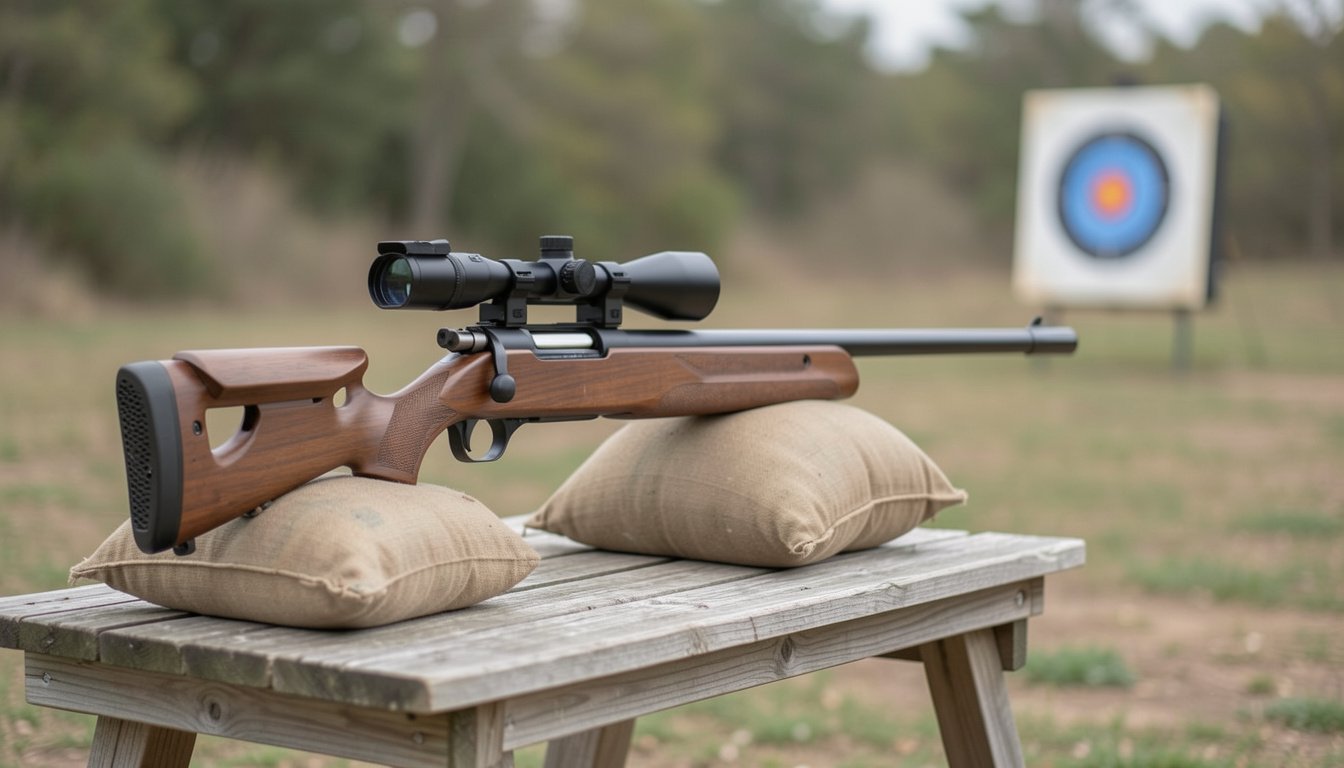
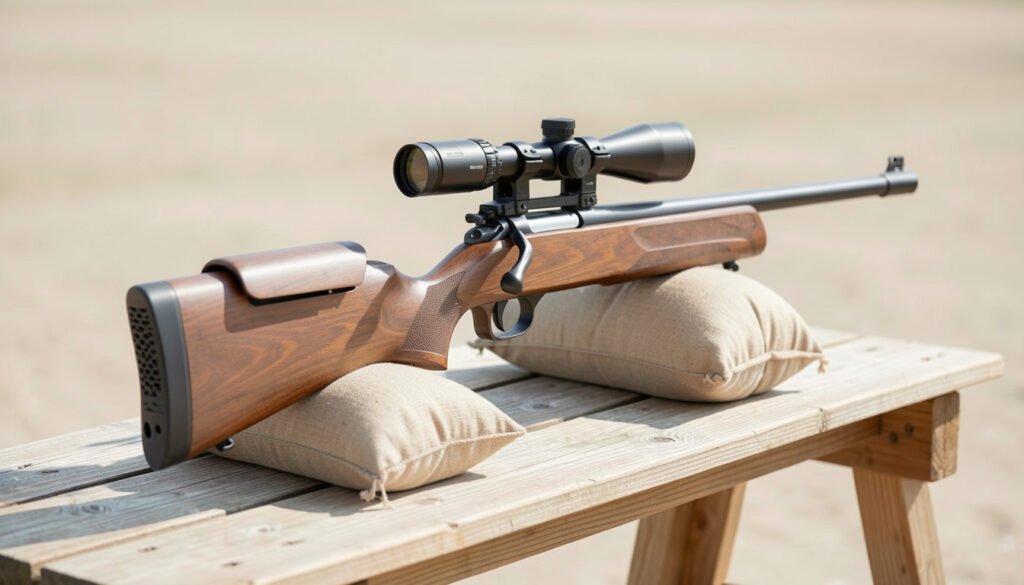
Now build a steady platform. Rest the front of the stock on a bag or bipod and support the rear with a second bag. Do not rest the barrel itself on a hard surface, because that can change where the rifle shoots. If you want help with your shooting position, see this guide on how to hold a rifle correctly.
Pro tip: Let the rifle settle into the rest and use the same light, steady shoulder pressure on every shot so the rifle behaves the same way each time.
Bore Sight the Rifle to Get on Paper
Bore sighting is a rough alignment of your scope with the barrel. It does not give you a final zero, but it helps your first shots land on the paper instead of in the dirt.
For a bolt-action rifle, the process is simple:
- Make sure the rifle is unloaded and the chamber is empty. Remove the bolt.
- Secure the rifle in the rest, with a target at 25 yards.
- Look through the bore and move the rifle until the target’s center sits in the middle of the barrel.
- Without moving the rifle, look through the scope and turn the turrets until the crosshair is on the same spot.
Rifles without removable bolts, such as many semi-autos, can be bore sighted with a laser bore sighter or by following the manufacturer’s instructions. Always unload and verify the chamber is clear first. If you are not sure how to do this safely on your rifle, a gunsmith or range staff can help.
Some shooters also reset the turrets to their “zero” marks after bore sighting, so they can return to the original setting later. That is optional but handy.
Fire a Group at 25 Yards
Starting close helps rule out wildly off shots that might miss the paper at 100 yards. Many shooters begin at 25 yards for this reason. It also makes the final adjustments faster.
Load the rifle on the firing line, aim at the center of the bullseye and fire a group of three shots. Take your time between shots and let the barrel cool if it gets warm. Do not adjust the scope after each shot at this stage. You want to see where the group lands.
Why a Group Beats a Single Shot
One shot can be pulled, flinched or affected by a cold barrel. A group of three to five tells you where the rifle actually shoots. Adjust to the center of that group, not to the closest shot.
Some hunters use a “two-shot” method: fire once, hold the rifle steady, then move the crosshair to the bullet hole. It is quick, but it depends on a very stable rest and a sound mount. A group is the more forgiving approach for beginners.
Adjust the Scope Turrets
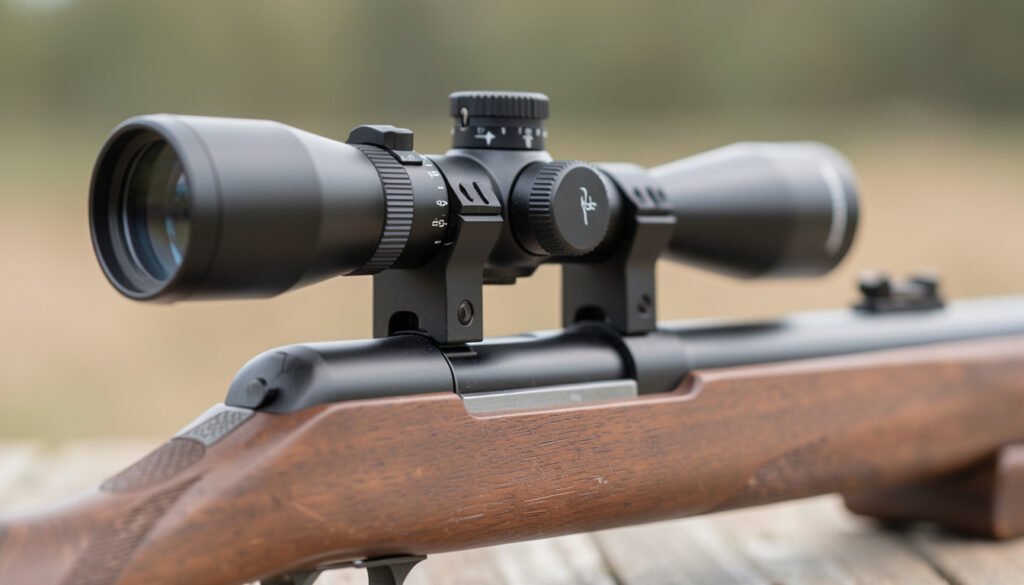
Your scope has two main dials. The elevation turret on top moves the point of impact up and down. The windage turret on the side moves it left and right. Each click moves the point of impact by a set amount, usually printed on the turret or in the manual.
Most scopes use MOA (minute of angle) or mil clicks. One MOA is about 1.05 inches at 100 yards, which many shooters round to one inch.
| Click value | Movement per click at 100 yards | Movement per click at 25 yards |
|---|---|---|
| 1/4 MOA | About 0.26 inch | About 0.07 inch |
| 1/2 MOA | About 0.52 inch | About 0.13 inch |
| 1 MOA | About 1.05 inches | About 0.26 inch |
| 0.1 mil | About 0.36 inch | About 0.09 inch |
Here is a simple example. Say your scope has 1/4 MOA clicks and your group is 2 inches low at 25 yards. Each click moves the impact about 0.07 inch at that distance, so you would need roughly 28 clicks up. Check your scope’s manual for the click direction, which is usually marked by an arrow.
Make the adjustment, then fire another group to check the result. Repeat until the group is centered. If you want a deeper walk-through of the dials and reticle, read this guide on how to sight in a rifle scope.
Confirm Your Rifle Zero at 100 Yards
Your zero is not finished until you confirm it at the distance you care about. Put up a fresh target at 100 yards and fire another three- to five-shot group from your stable rest. Adjust again if the group is not centered.
Many hunters zero at 100 yards because it is a practical distance for most hunting rifles. Some prefer to sight in an inch or two high at 100 yards so the bullet is closer to center at 200 yards. The right choice depends on your cartridge, your game and your terrain.
When you are happy, fire one last group to confirm. Then note the turret settings, the ammunition and the conditions. You can also use this guide to sight in a rifle for a 100-yard zero as a second reference.
Check Your Zero Before Each Season
Bumps, travel and temperature changes can shift a zero. Fire a confirming group before hunting season and any time you change ammunition or remove and replace the scope. If your rifle has been dropped or knocked, check it too.
Avoid Common Mistakes When You Zero a Rifle
Most zeroing problems come from a handful of habits. Fix these and your sessions will go much more smoothly.
- Chasing single shots. Adjusting after every round makes your zero wander. Shoot a group first.
- Shooting from an unsteady position. Use a rest. Your goal is to test the rifle, not your nerves.
- Using different ammunition. Switching loads can change the point of impact.
- Overheating the barrel. A hot barrel can shift your groups. Let it cool between strings.
- Ignoring wind. A crosswind can push a group sideways and trick you into over-correcting windage.
- Skipping the cold-barrel check. Your first shot of the day can land away from the rest. If you hunt, know where that first shot goes.
If a group is large or scattered, do not keep turning the dials. Check the screws, the scope mount and the ammunition. Sometimes the rifle is telling you it needs a trip to a qualified gunsmith.
Frequently Asked Questions
How many rounds does it take to zero a rifle?
It varies, but a well-mounted rifle that has been bore sighted often needs around 10 to 20 rounds to reach a confirmed 100-yard zero. Fewer shots are possible with the two-shot method, while a loose mount or inconsistent ammunition can take more.
What distance should I zero my rifle at?
For most hunting rifles, 100 yards is a common and practical choice. Some shooters sight in slightly high at 100 yards to be on target farther out. Choose the distance that matches the shots you expect to take.
Is bore sighting the same as zeroing?
No. Bore sighting is a rough alignment that gets your first shots on paper. Zeroing requires live fire and adjustments until your group is centered at your chosen distance.
How often should I check my rifle’s zero?
Check it before every hunting season and after any impact or scope removal. Also check it if you change ammunition. A quick confirming group takes only a few rounds and gives you confidence.
Conclusion
Zeroing a rifle comes down to a simple routine. Tighten everything, set up a steady rest, bore sight, shoot a group at 25 yards, adjust, and then confirm at 100 yards. Keep your safety habits sharp from the first step to the last.
Take your time and keep notes. A confirmed zero with the right ammunition makes every later shot more predictable, whether you are hunting or punching paper. Check local range rules, and ask a qualified gunsmith for help if something seems off. Get your zero right once, and you will walk away from the range ready for what comes next.