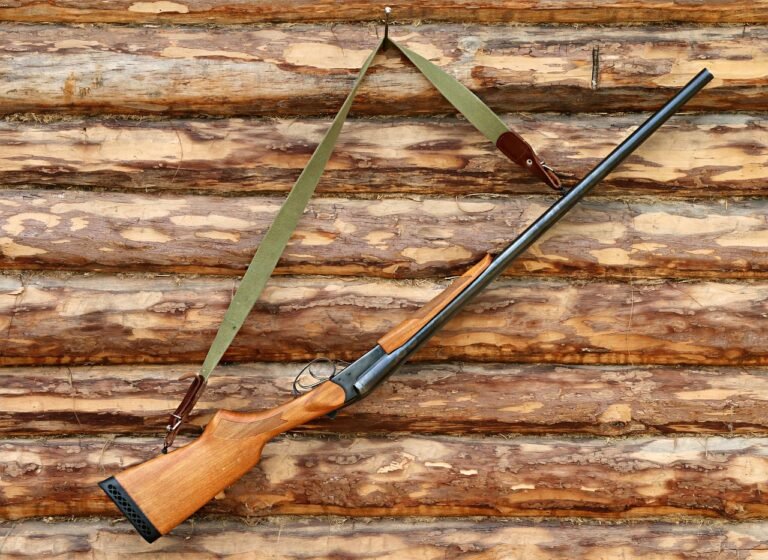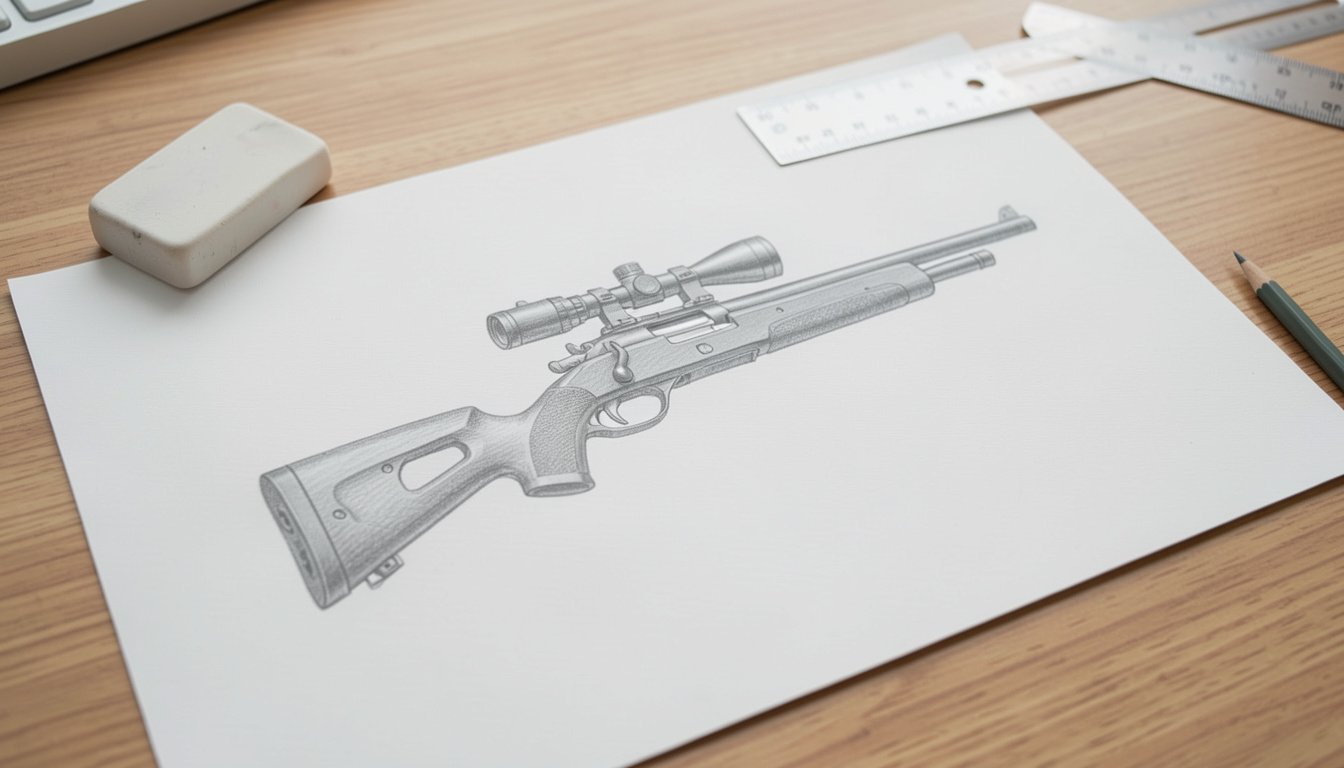
How to Draw a Rifle: 5 Easy Steps for Realistic Results
To draw a rifle, start with a long, thin rectangle for the barrel and action, then add the stock, grip and trigger guard as simple connected shapes. Refine the outline, add the sights or scope, and finish with shading. Most beginners can get a clean result in under an hour.
The secret is proportion. A rifle looks right when the barrel, action and stock have the correct length relationship to one another, even if your details are basic.
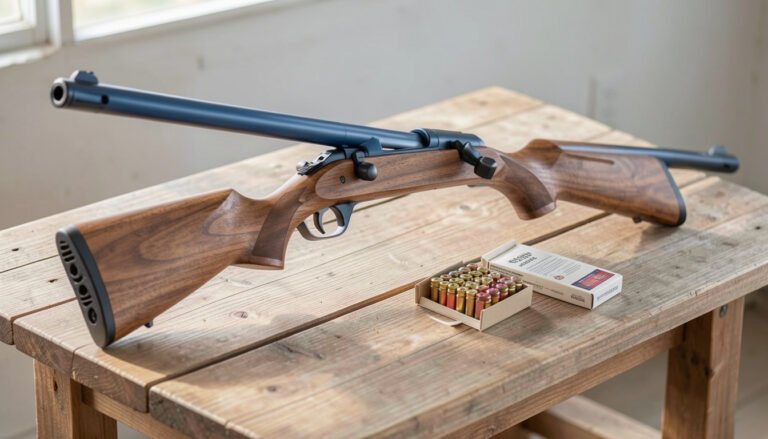
This guide uses a generic bolt-action hunting rifle as the example, because its shapes are simple and easy to learn. The same method works for lever-action rifles, semi-automatic rifles and carbines.
You will also learn the key rifle parts to draw them accurately, which reference photos to use and how to avoid the mistakes that make a drawing look “off.” Keep reading and you will have a finished sketch by the last step.
Key Takeaways
- Build every rifle drawing from simple shapes first, then refine the outline once the proportions look right.
- A rifle is mostly three long sections: the stock, the action in the middle and the barrel at the front.
- Use photos or illustrations as reference. If you use a real rifle, make sure it is unloaded and verified clear first.
- Light pencil lines, a ruler and an eraser do most of the work. Darken lines only after the shape is correct.
- Shading and small details such as the bolt handle, scope and trigger guard make the drawing look realistic.
What You Need Before You Draw a Rifle
You do not need special tools. A few basic supplies are enough for a clean drawing.
- Pencils: an HB for light construction lines and a 2B or 4B for darker lines and shading.
- Eraser: a kneaded eraser lifts graphite gently, and a standard eraser removes guidelines.
- Ruler: it keeps the barrel and top line straight.
- Smooth paper: ordinary sketch paper works well.
- Reference image: a side-on photo of the rifle style you want to draw.
Choose a rifle style
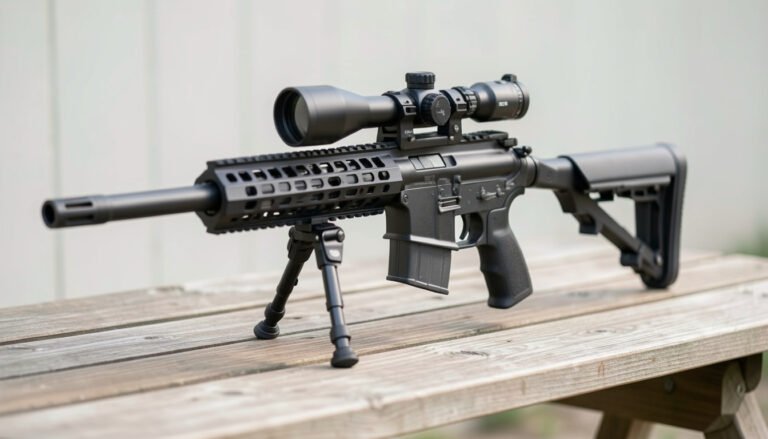
Pick one style and stick with it. A bolt-action rifle has a smooth, uncluttered outline, which makes it the easiest place to start. A lever-action rifle adds a loop-shaped lever under the action. A semi-automatic rifle has a boxier receiver and a magazine hanging below. If you are not sure how short-barreled rifles differ from full-length ones, this plain-English guide to carbine rifles shows the difference in size and layout.
A note on reference and safety
Photos, catalog images and museum pictures are the safest references. If you draw from a rifle you own, follow the basic safety rules. Treat every gun as loaded, keep the muzzle in a safe direction, keep your finger off the trigger, and unload and verify that the chamber and magazine are empty before it comes anywhere near your desk. Better yet, store the ammunition in another room.
Learn the Parts of a Rifle to Draw It Accurately
You will draw faster if you know what you are looking at. Every part below can be reduced to a basic shape, as the table shows.
| Rifle part | What it is | Shape to start with |
|---|---|---|
| Barrel | The long metal tube at the front | Long, narrow rectangle |
| Action / receiver | The mechanism in the middle that holds the bolt | Short, thicker rectangle |
| Stock | The wooden or synthetic body from the action to the shoulder | Tapered wedge with a gentle curve |
| Grip (wrist) | The narrow section your hand holds | Small curved neck |
| Trigger guard | The loop that protects the trigger | Shallow oval or teardrop |
| Bolt handle | The lever on the side of the action | Thin stick with a small ball at the end |
| Scope | The optic mounted on top | Long cylinder that flares at both ends |
| Forend | The part of the stock beneath the barrel | Slim, flat-bottomed extension |
Looking at a few photos with this list in hand will teach you where each part sits. For a better sense of how the rifle is held in real life, which helps if you want to draw a shooter later, see this guide on how to hold a rifle correctly.
Step 1: Sketch the Basic Shapes of the Rifle
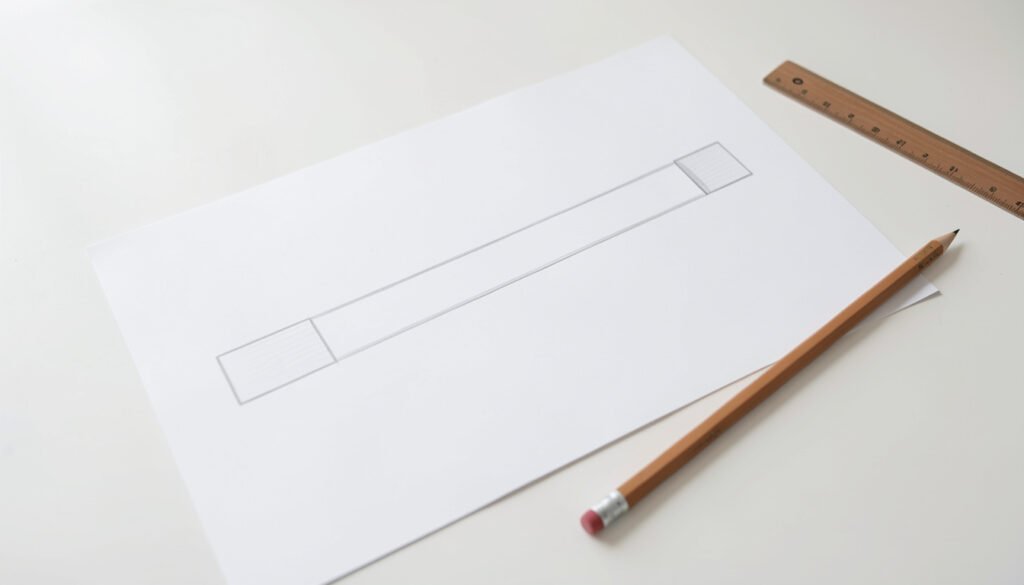
Lay your paper in landscape orientation. Use your HB pencil and press lightly, because you will erase many of these lines later.
- Draw a long horizontal line across the page. This is the top edge of the rifle.
- Below it, draw a thin rectangle for the barrel on the right side.
- Draw a slightly thicker rectangle for the action, joined to the back end of the barrel.
- Add a wedge-shaped block behind the action for the stock.
Check the proportions before moving on. On a typical hunting rifle, the barrel and forend together take up roughly half the length, the action takes a smaller slice, and the stock takes the remaining share. Your exact ratio will depend on the model, but make sure the barrel is clearly longer than the action.
Step 2: Shape the Stock, Grip and Trigger Guard
Now turn the blocks into something that looks like a rifle. Round the rear of the stock block into a gentle slope, with a flat or slightly curved butt at the very back.
Next, draw the grip. Make a narrow curve that dips down from the action and sweeps back toward the stock. Many beginners make the grip too thick, so keep it slim.
Under the action, draw a small oval for the trigger guard. Inside it, add a curved trigger. Keep the trigger small, since it is one of the most common details people draw too large.
Pro tip: Turn your drawing upside down every few minutes, because errors in proportion jump out when you see the shape fresh.
Step 3: Add the Barrel Details, Sights or Scope
With the main body in place, work on the front half. Taper the barrel slightly toward the muzzle and finish the tip with a small rectangle or ring. If you want to show the end of the barrel in a three-quarter view, add a tiny ellipse to suggest the bore opening.
If you are drawing a scope
Draw a long cylinder above the action. Make it wider at the front (the objective end) and the rear (the eyepiece), with a slimmer middle section. Add two small rings beneath it for the mounts. Keep the scope parallel to the barrel. A tilted scope is the quickest way to spoil a good drawing. If you want to understand what the scope actually does, the guide on how to sight in a rifle scope explains it clearly.
If you are drawing iron sights
Add a small blade or post near the muzzle and a notched rear sight on the barrel just ahead of the action. Two small, aligned marks are enough for a simple drawing.
Step 4: Refine the Outline and Add Mechanical Details
This is the step where the rifle starts to look real. Go over your best lines with a slightly firmer stroke and erase the rough construction lines.
- Add the bolt handle on the right side of the action, angled slightly down and back.
- Draw a thin line where the barrel meets the forend.
- Add a sling swivel stud under the forend and the butt if you like.
- Draw the floor plate or magazine outline under the action.
- Add a thin line along the stock to suggest where the wood meets the metal.
Work from your reference photo and compare each detail with it. Do not try to include everything. A clean drawing with six or seven correct details beats a crowded one with errors.
Step 5: Finish Your Rifle Drawing with Line Work and Shading
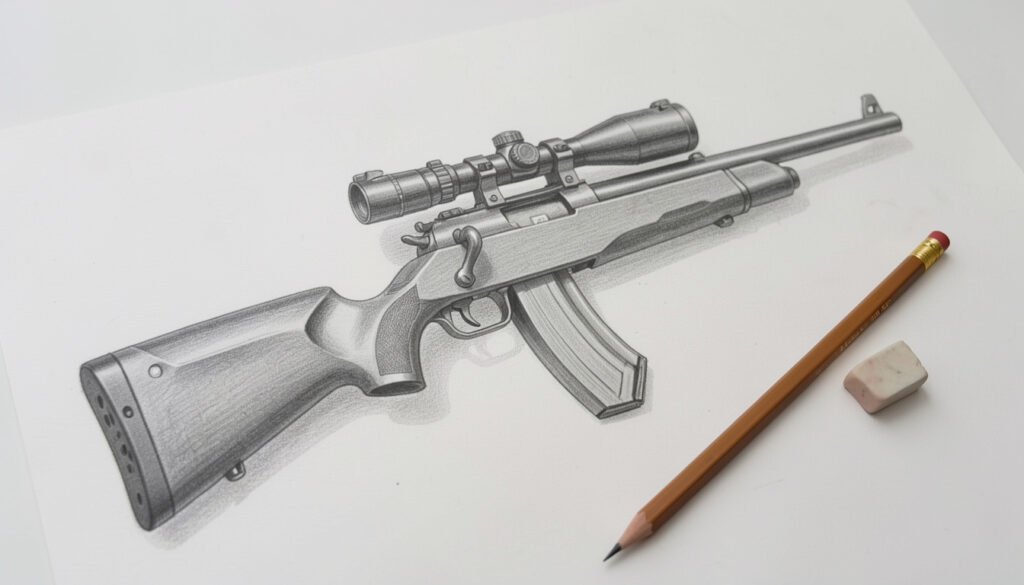
Switch to a softer pencil. Darken the outline where parts overlap, such as under the barrel, beneath the scope and along the bottom of the stock. These darker lines create depth.
Then add shading:
- Use smooth, even strokes along the barrel and action to show a metallic surface, leaving a thin white highlight along the top edge.
- Shade the stock in the direction of the wood grain, with a lighter area where light hits it.
- Add a soft shadow beneath the rifle to make it look as if it is resting on a surface.
Pick the light source, such as the upper left, and stay with it. Use the kneaded eraser to pull out small highlights on the scope and metal parts. Step back from the page and check the overall shape one last time.
Avoid These Common Mistakes When You Draw a Rifle
- Short barrels: beginners often draw barrels too short. Compare against your reference.
- Thick grips and triggers: these parts are slimmer than they appear at first glance.
- Heavy early lines: dark guidelines are hard to erase and leave smudges.
- Mixing styles: do not combine a lever-action loop with a bolt handle on the same rifle.
- Skipping reference: memory is unreliable for mechanical shapes, so keep a photo nearby.
Once you are comfortable with a side view, try a three-quarter angle, then a rifle resting on a bench or leaning on a fence. If you are interested in a smaller rifle type for your next subject, you can learn about what a rimfire rifle is and draw a small-bore sporting model.
Frequently Asked Questions
What is the easiest rifle to draw for a beginner?
A bolt-action hunting rifle is the easiest because it has a smooth outline with few small parts. Its barrel, action and stock are simple shapes. Once you are confident with it, try a lever-action or semi-automatic rifle.
How long does it take to draw a rifle?
A simple outline can take 15 to 30 minutes. A detailed, shaded drawing usually takes an hour or more, depending on your experience. Taking your time on the first two steps will save time later.
Should I use a real rifle as a reference?
You can, but only if it is unloaded and you have verified that the chamber and magazine are empty. Keep the muzzle in a safe direction and your finger off the trigger. Photos are an easier and safer alternative.
How do I draw a rifle in perspective?
Start with a simple box that matches the length, height and width of the rifle. Place the main parts inside it, with the parts closest to you drawn larger. Practice with a side view first, then move on to angled views.
Conclusion
Drawing a rifle comes down to a few repeatable habits. Block in basic shapes, check the proportions, refine the outline, add the key details and finish with shading. Each step builds on the last, so you do not need advanced skills to get a good result.
Keep your reference photos handy, draw lightly at first and be patient with the details. Every sketch will improve your sense of proportion. Pick a rifle, sharpen your pencil and start with that first long line.