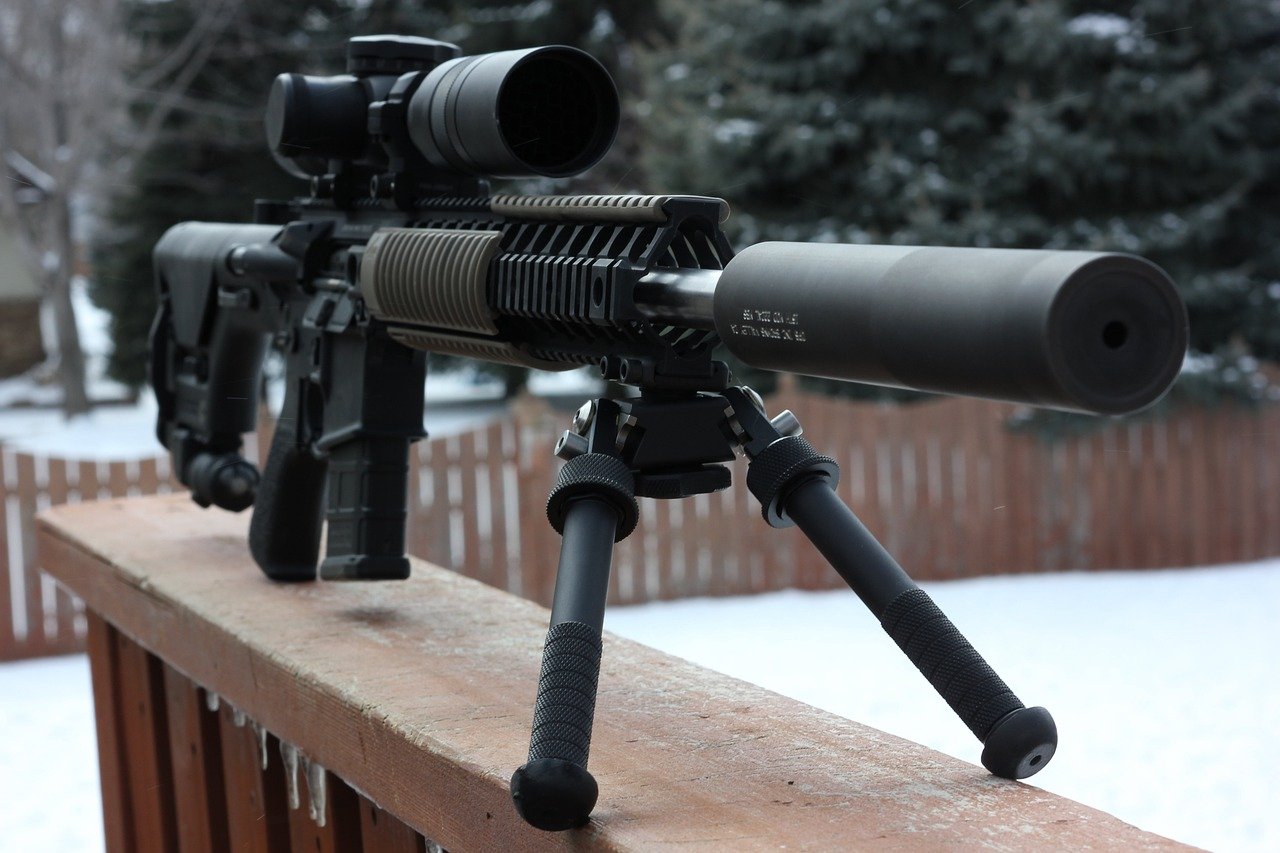
How to Sight In a Rifle Scope: 7 Easy Steps for Beginners
To sight in a rifle scope, you mount the scope securely, bore sight it, fire a small group at a known distance, and then turn the turrets until your bullets hit where the reticle points. Most hunters finish with a 100-yard zero.
The whole job takes a box or two of ammo and an hour or so at the range if you stay organized. Sighting in is also called zeroing. The two words mean the same thing.
You will work with two adjustments. Windage moves your point of impact left and right. Elevation moves it up and down.
This guide walks you through each step in order, with the safety checks that go with it. Keep reading and you will know exactly what to do at the bench.
Key Takeaways
- Check that your scope and rings are tight, then bore sight at 25 yards so your first shots land on paper.
- Shoot from a steady rest and fire three-shot groups. One shot can mislead you, but the center of a group tells the truth.
- Turret clicks are measured in MOA. A quarter-MOA click moves your impact about a quarter inch at 100 yards.
- Use the same ammunition to sight in that you plan to hunt or shoot with.
- Recheck your zero before each season and after any hard knock to the rifle.
Gather Your Gear and Pick a Safe Place to Shoot
Good gear makes sighting in easier and more accurate. Most of the work is about removing wobble, because you want the rifle to do the same thing every shot.
What You Need
- Your rifle with the scope already mounted
- The ammunition you plan to use in the field or at the range
- A bench, with sandbags or a solid rest for the front and rear of the stock
- Gridded sight-in targets or paper targets with a clear aiming point
- Eye and ear protection
- A screwdriver or small coin for the turret caps, and a notepad
- A spotting scope or binoculars, if your range is long
- Optional: a laser bore sight and a torque wrench
Choose a Safe Location
Use a range with a solid backstop and known distances. In Oklahoma, a staffed or public shooting range is usually the easiest option. If you plan to shoot elsewhere, confirm the rules with the landowner or the managing agency first.
Follow the core safety rules the whole time. Treat every gun as loaded. Keep the muzzle in a safe direction. Keep your finger off the trigger until your sights are on the target and you have decided to shoot.
Check Your Scope Mount Before You Fire
A loose mount ruins a zero faster than anything else. If the scope shifts, your point of impact shifts with it, and you will chase groups that never settle down.
Unload the rifle first. Open the action, check the chamber and magazine, and look to confirm it is empty. Then check these points:
- Base screws and ring screws are snug and match the maker’s torque specs.
- The scope sits level in the rings and does not rotate by hand.
- You have full eye relief. That means you see a clear, full sight picture without the scope touching your brow when the rifle recoils.
- The reticle looks sharp. Adjust the eyepiece (diopter) ring if it looks blurry.
A torque wrench is worth using on the ring screws. Over-tightening can damage a scope tube, and under-tightening lets it slip. If you are not confident mounting a scope, a qualified gunsmith can do it properly.
Pro tip: Tighten ring screws a little at a time in a cross pattern, the way you would tighten lug nuts on a wheel.
Bore Sight Your Rifle Scope to Get on Paper
Bore sighting lines up the barrel and the scope roughly, so your first live shot hits the target instead of the dirt. It will not give you a perfect zero. It saves ammo and time.
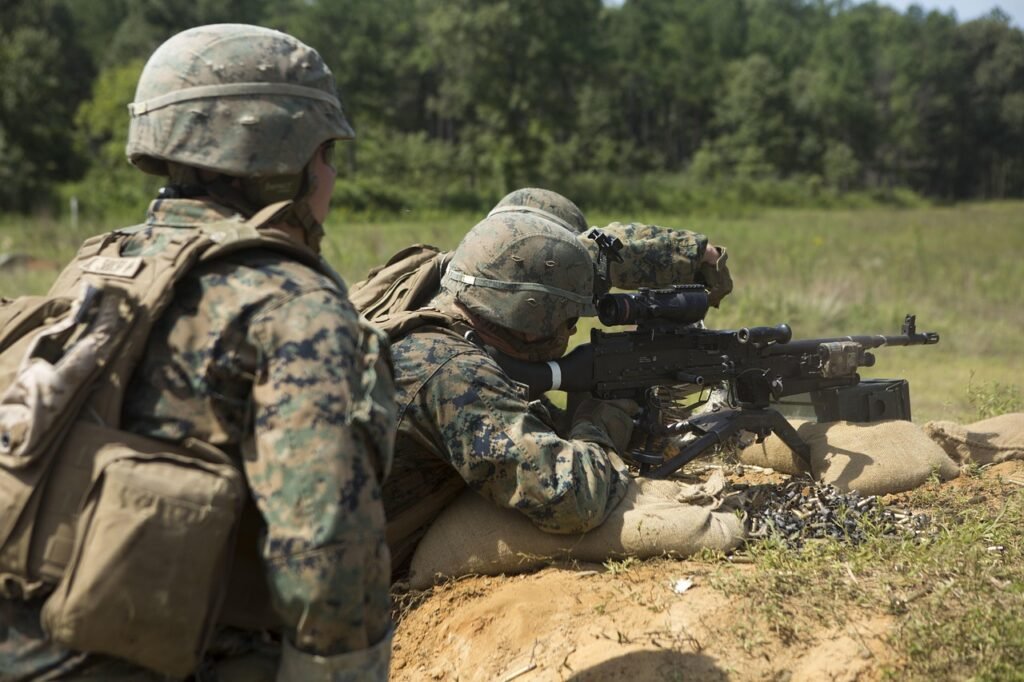
Manual Bore Sighting on a Bolt-Action
Set a target at 25 yards and steady the rifle in a rest or vise. Make sure the rifle is unloaded, then remove the bolt. Look down the barrel and center the target in the bore.
Without moving the rifle, look through the scope. Turn the windage and elevation turrets until the reticle sits on the same spot. Check the bore again to confirm the rifle did not move.
Laser Bore Sighting
A laser bore sight is quicker and works on rifles where you cannot look down the bore. It fits in the chamber or the muzzle. Switch it on, then adjust the turrets until the reticle meets the laser dot on the target.
Remove the laser device before you load live ammunition. Always.
Fire a Three-Shot Group at 25 Yards
Start close. At 25 yards you can confirm that your shots are on paper and that nothing is badly off. Many shooters use this short distance to save ammo before moving back.
Load one round at a time. Get comfortable, settle the rifle into the rest, and use a light, steady trigger press. Take your time between shots so the barrel does not heat up.
- Aim at the center of the target and fire one shot.
- Fire two more at the same aiming point.
- Unload and make the rifle safe. Open the action and confirm it is empty.
- Check the target and find the center of your three holes.
Why three shots? One flyer can fool you. A small group shows where the rifle is really shooting. If the three holes are scattered widely, stop and check your mount, your rest and your technique before touching the turrets.
Adjust Your Rifle Scope Turrets Using MOA Clicks
Measure how far the center of your group is from your aiming point. Then move the turrets to bring the group to the target. Remove the turret caps to get to the adjustments.
Most scopes use MOA (minute of angle). One MOA is about 1.05 inches at 100 yards, and many scopes click in quarter-MOA steps. Some scopes use MRAD instead. The turret or manual tells you which one you have, so check it before counting clicks.
The rule that trips up beginners is that you move the reticle toward the bullet holes’ target position, and the scope’s markings show the direction. Look for arrows on the turrets that say which way moves the point of impact. Do not guess.
| Distance | Approx. inches per 1 MOA | Approx. quarter-MOA clicks per inch |
|---|---|---|
| 25 yards | 0.26 | About 15 |
| 50 yards | 0.52 | About 7 to 8 |
| 100 yards | 1.05 | About 4 |
Here is an example. At 100 yards, if your group is two inches left, you need roughly eight quarter-MOA clicks of windage to move it right. At 25 yards, the same two-inch error takes about 30 clicks. Always check your scope’s own click value, because it can differ from this common one.
After you adjust, fire another three-shot group. Repeat until the group is centered at 25 yards.
Move to 100 Yards and Confirm Your Zero
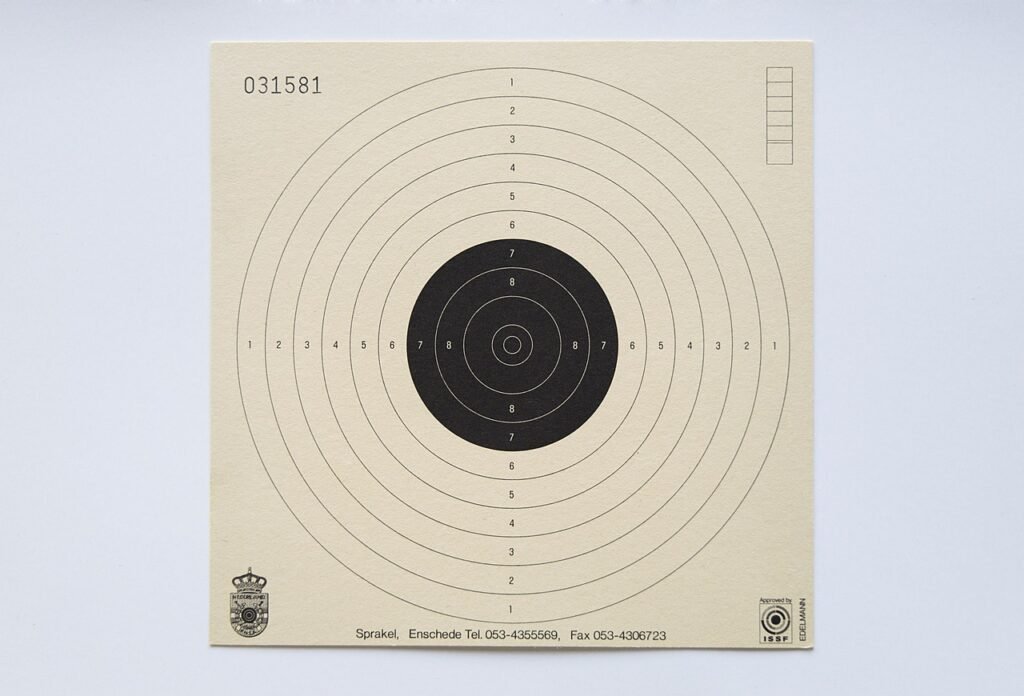
Once you are centered at 25 yards, move back to 100 yards. This is the standard zero distance for most hunting and general-purpose rifles. If you mostly shoot at shorter or longer ranges, pick the distance that fits your use.
Fire another three-shot group at the center of the target. Measure the gap and adjust the turrets using the click math above. Expect the changes to be small now, since you did the heavy lifting up close.
Some hunters zero an inch or two high at 100 yards so the bullet lands closer to center at 200 yards. Hunter education programs commonly describe this approach. Your cartridge and the game you hunt decide whether it makes sense, so check your load’s published ballistics.
When Are You Done?
You are done when two consecutive three-shot groups land where you want them, and the group is tight. If your groups stay large even after a good zero, the problem is usually the ammo, the rest, the mount or the shooter. It may also be the rifle itself, which a gunsmith can check.
Check Parallax if Your Scope Has It
Some scopes have a parallax adjustment, often a side-focus knob. Use it so the reticle stays still on the target when you shift your head slightly. Most fixed-parallax hunting scopes do not need this step.
Record Your Zero and Recheck It Each Season
Write down your zero distance, ammunition brand and bullet weight, and the date. Note the final turret position too. Many scopes let you reset the turrets to zero after sighting in, which makes later adjustments easier to count.
Switching to a different load can move your point of impact. If you change brands or bullet weights, shoot a confirming group before you rely on the rifle. Keep the original load’s notes handy for comparison.
Recheck your zero before each hunting season and any time the rifle takes a hard bump. Also check after you remove and remount the scope, or after traveling with the rifle. A mounted, torqued scope should hold zero for a long time, but a quick confirmation costs only a few rounds.
Frequently Asked Questions
What distance should I sight in my rifle scope?
For most hunting rifles, 100 yards is the standard zero distance. If you mostly shoot closer or farther, choose the distance nearest your typical shot. Many people bore sight and take first shots at 25 yards, then move back to 100.
How many shots does it take to sight in a rifle?
It depends on your setup, but you should plan on several three-shot groups. Bore sighting first reduces the count by putting your first shots on paper. Stay patient and let the barrel cool between groups.
Do I need to bore sight before sighting in?
You do not have to, but it is a good idea. It saves ammunition and time, and it avoids wasting shots when a new scope is far off. A laser bore sight or a manual look down the bore both work.
What does MOA mean on a rifle scope?
MOA stands for minute of angle, which is about one inch at 100 yards. Most scopes adjust in quarter-MOA clicks, so four clicks move your impact about one inch at 100 yards. Check your scope’s markings or manual to confirm its click value.
Conclusion
Sighting in a rifle scope comes down to a handful of repeatable steps. Check your mount, bore sight, shoot three-shot groups from a steady rest, and adjust the turrets by the numbers. Then confirm your zero at 100 yards and write it down.
Go slowly, stay safe and use the same ammo you plan to shoot later. Small, careful adjustments beat big guesses every time. Soon you will have a rifle you can trust.
If you have questions about scopes, mounting or getting ready for the range, stop by Sooner Guns at 5663 S Mingo Rd in Tulsa, or call us at 918-286-8888. Guns for the good guys and gals.