How to Adjust a Rifle Scope: 6 Easy Steps for Clear Aim
To adjust a rifle scope, you set it up to fit your eye, then adjust it to fit your rifle. The first part covers eye relief, leveling, eyepiece focus, magnification and parallax. The second part uses the windage and elevation turrets to move your point of impact to your point of aim.
Most beginners jump straight to the turrets. That is the wrong order. If the reticle is fuzzy or the scope sits too far forward, you will chase groups that never settle.
This guide walks through each adjustment in the order that works best. You will also learn which way to turn the knobs and how to count clicks. Every step that involves handling the rifle assumes it is unloaded and checked.
Read on and you will have a clear, repeatable routine you can use on any scoped rifle.
Key Takeaways
- Adjust the scope to fit you first (eye relief, level, eyepiece focus), then adjust it to the rifle with the turrets.
- The eyepiece (diopter) focuses the reticle. The side or front parallax knob focuses the target image. They are not the same control.
- Turrets move your point of impact, not the rifle. Read the arrows on the knob and the click value printed on it.
- Fire a 3 to 5 shot group from a stable rest before you touch a turret. A single shot is not enough information.
- Always unload and verify the rifle is clear before mounting, leveling or fiddling with the scope off the firing line.
Step 1: Set the Eye Relief and Level the Scope
Safety first. Treat every rifle as loaded, point the muzzle in a safe direction, keep your finger off the trigger, and open the action to confirm the chamber and magazine are empty before you start.
If your scope is already mounted and clear, you can skip ahead. If you see a dark ring around the image or you feel the scope near your brow, the mounting position needs work.
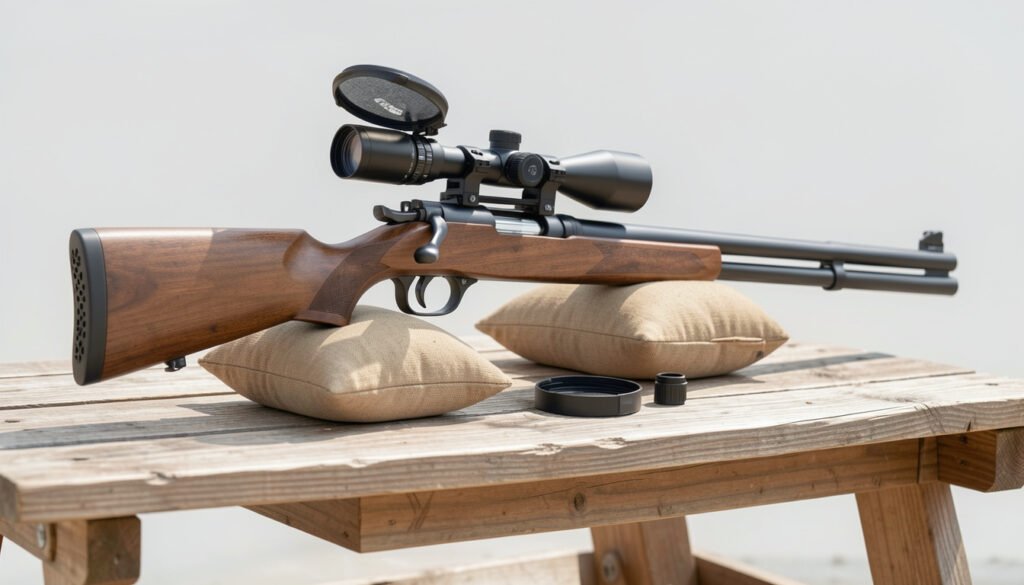
Find the right eye relief
Eye relief is the distance between your eye and the rear lens. Too close and the scope can hit your brow under recoil. Too far and you get a black ring called scope shadow.
- Loosen the ring screws so the scope slides, but do not remove it.
- Shoulder the unloaded rifle in your normal firing position with your head resting naturally on the stock. If you need a refresher, see this guide on how to hold a rifle correctly.
- Slide the scope back until a dark ring appears, then forward until the ring just disappears and you see a full, round picture.
- Leave a little extra room for recoil, especially with heavier calibers.
Level the reticle
A tilted scope makes your shots drift sideways at distance. Place a small bubble level on the rifle’s flat reference surface and another on the scope’s turret base or a flat part of the turret. Rotate the scope until both read level.
Once the scope is positioned and level, tighten the ring screws evenly. Use a torque tool and follow the manufacturer’s torque specifications. Overtightening can dent the tube and damage the scope.
Step 2: Focus the Eyepiece to Sharpen the Reticle
The eyepiece, also called the diopter or ocular adjustment, is set once to match your eyesight. It makes the crosshairs look crisp. It does not make the target sharper.
- Point the scope at a plain, bright surface such as a light wall or the sky. Never point it at the sun.
- Turn the eyepiece all the way out so the reticle is blurry.
- Look through the scope for only a second or two, then look away and rest your eyes.
- Turn the eyepiece a little at a time, looking away between adjustments, until the reticle appears sharp the moment you look in.
Some scopes have a locking ring on the eyepiece. Tighten it after you finish so the setting does not wander. If you share the rifle with someone else, each person may need a slightly different setting.
Step 3: Adjust Magnification and Parallax
Now focus the image of the target. These two controls are easy to mix up, so here is the difference.
Magnification
On a variable scope, the zoom ring sits near the eyepiece. Turn it to change power. A lower setting gives a wider field of view and a brighter picture, which suits close or moving targets. A higher setting suits distant, still targets.
Also check whether your reticle is first focal plane (it grows and shrinks with zoom) or second focal plane (it stays the same size). This matters when you use reticle marks to estimate range or holdover.
Parallax and target focus
Parallax is an apparent shift between the reticle and the target when your eye moves off center. Many scopes have an adjustable objective ring on the front bell, or a side focus knob on the left of the turret housing. Turn it until the target looks sharp, then move your head slightly. If the reticle seems to slide across the target, keep adjusting until it stays put.
If your scope has no parallax control, it is typically set at a fixed distance at the factory. Check the manual for that distance.
Step 4: Learn Your Turrets and Click Values
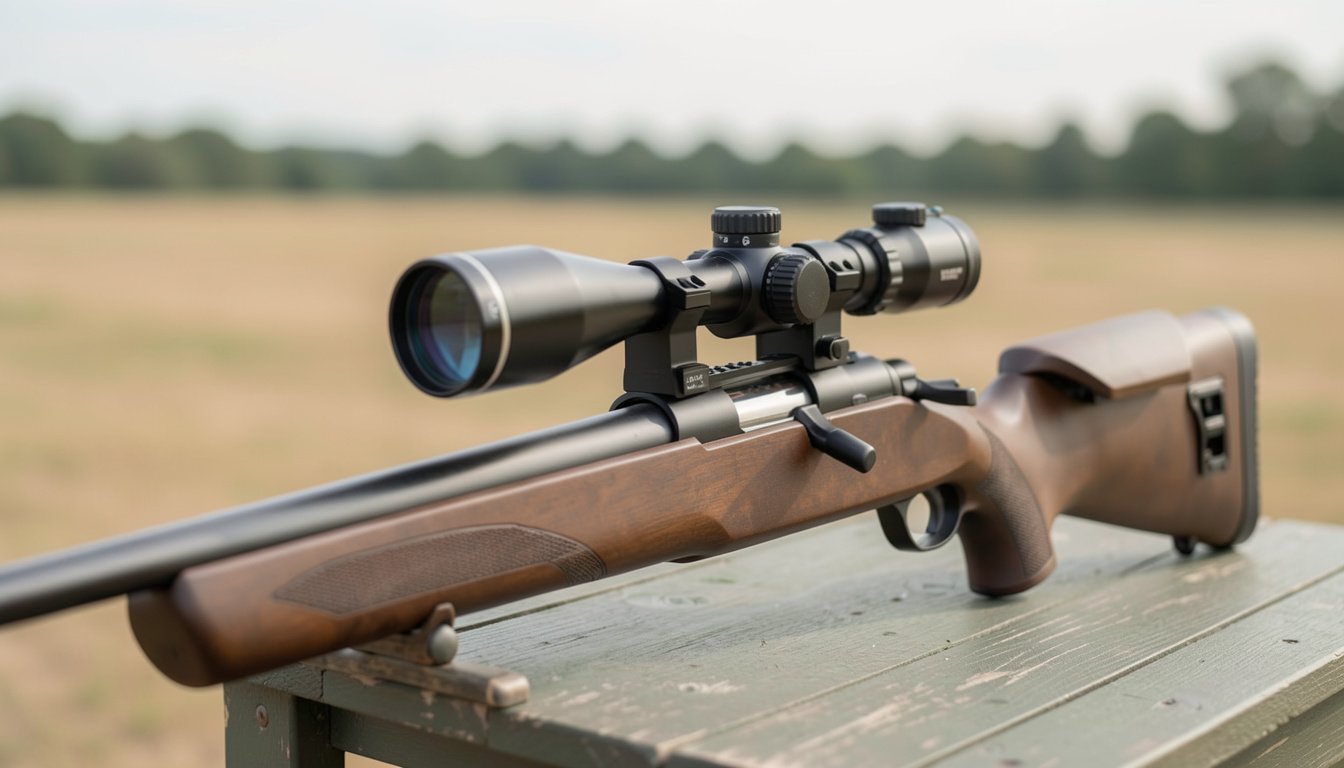
Before you adjust a rifle scope for zero, read what the turrets tell you. Most scopes have an elevation turret on top and a windage turret on the right side. Each click moves the point of impact a set amount.
Scopes use different angular units. The table below shows the common ones at 100 yards.
| Click value | Approximate movement at 100 yards | Notes |
|---|---|---|
| 1/4 MOA | About 0.25 inch per click | Very common on hunting and target scopes |
| 1/2 MOA | About 0.5 inch per click | Often found on rimfire and budget scopes |
| 0.1 MIL | About 0.36 inch per click | Common on tactical and precision scopes |
MOA means minute of angle, which is about one inch at 100 yards. A MIL, short for milliradian, is about 3.6 inches at 100 yards. The click value is usually printed on the turret cap or in the manual.
Most scopes use a simple rule: turn the knob in the direction of the arrow marked “up” or “R” to move your point of impact in that direction. Check the markings on your own scope to be sure.
Pro tip: Write your click value and zero distance on a piece of tape inside your case so you never have to guess at the range.
Step 5: Adjust Windage and Elevation From a Test Group
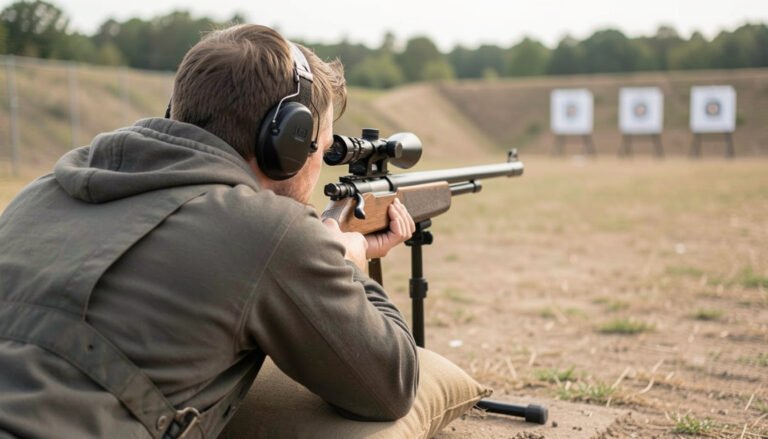
This is the part most people mean when they ask how to adjust a rifle scope. Start with a safe backstop and a solid rest such as sandbags or a bench rest. Your ear and eye protection should be on.
If you want the full process from boresighting to a final zero, our guide to sighting in a rifle scope covers it in more detail.
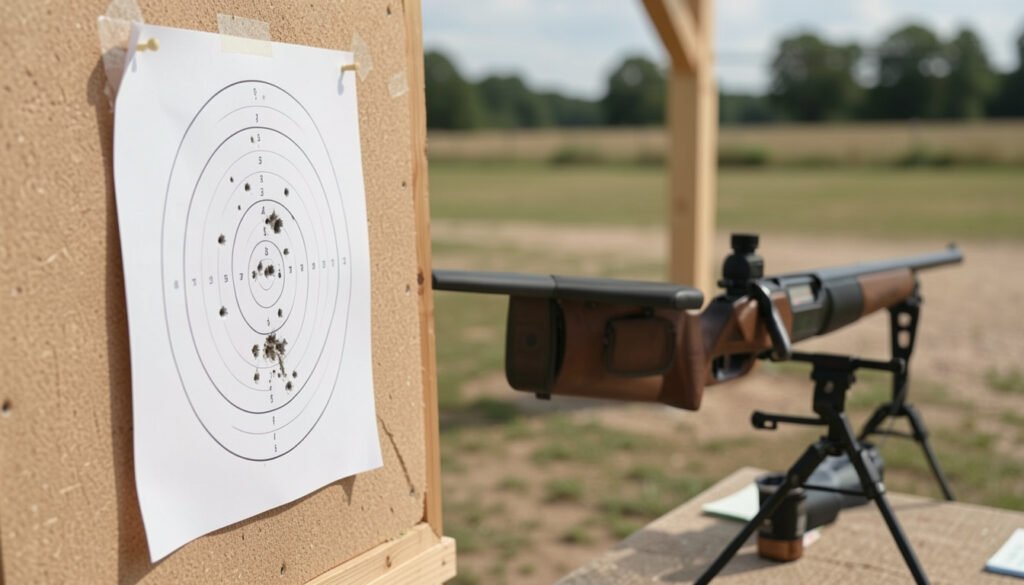
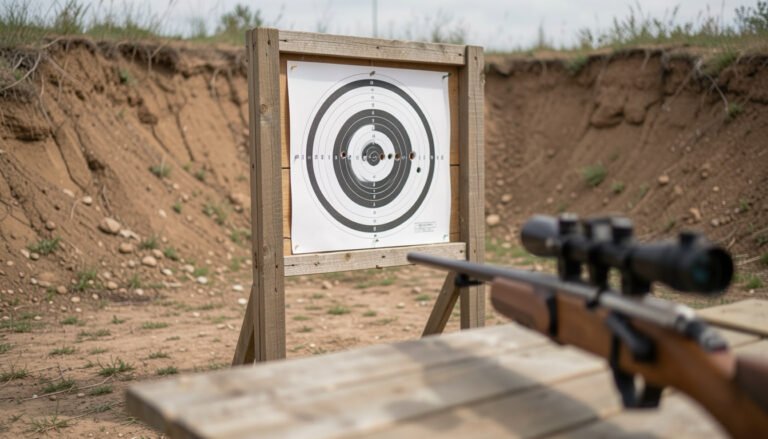
Shoot a group, then measure
- Aim at the center of the target at a short, safe distance such as 25 or 50 yards, or at 100 yards if you are already on paper.
- Fire a group of 3 to 5 shots with steady, consistent technique.
- Find the center of the group and measure how far it is from your aim point, both vertically and horizontally.
Do not adjust after one shot unless it landed far off. One shot can be thrown off by trigger pull, wind or ammunition variation.
Calculate your clicks
Divide the distance you need to move by the inches per click at your distance. As an example, if your group is 2 inches low at 100 yards and your scope is 1/4 MOA, you need about 8 clicks up. If it is also 1 inch left, you need about 4 clicks right.
- Group low: dial elevation up.
- Group high: dial elevation down.
- Group left: dial windage right.
- Group right: dial windage left.
Remember that the click value scales with distance. At 50 yards, a 1/4 MOA click moves about half as far as it does at 100 yards. At 200 yards, it moves about twice as far.
Step 6: Confirm Your Zero and Lock It In
After you dial in your corrections, fire another 3 to 5 shot group. Measure again and make smaller corrections as needed. Repeat until the group sits where you want it.
Once you are happy, tighten any turret locking features and replace the turret caps. Some scopes let you reset the turret to zero after you finish. Check your manual for how, and do not force a turret that feels stuck.
Most shooters choose a common zero distance, such as 100 yards for centerfire rifles and a shorter range for rimfire. If you want a deeper walkthrough of that process, see how to sight in a rifle for a 100-yard zero.
Common mistakes to avoid
- Adjusting the turrets before the mount is tight and the scope is level.
- Mixing up the eyepiece focus and the parallax control.
- Changing settings after a single shot.
- Forgetting that a scope can lose its zero after a hard knock or a change of ammunition. Recheck it before a hunt or match.
- Using different shooting positions or head placement each time, which changes where the reticle appears to land.
If the scope will not hold zero, the crosshair seems to jump, or the turrets do not respond predictably, stop. That can point to loose bases, a damaged scope or a mounting problem. Have a qualified gunsmith inspect it instead of forcing it.
Frequently Asked Questions
Which way do I turn the scope to move the bullet up?
Turn the elevation turret in the direction marked “up,” usually counterclockwise. Windage follows the same idea with the “R” arrow moving the point of impact right. Scopes differ, so follow the arrows on yours.
How many clicks should I adjust my scope?
Divide the distance you need to move by the click value at your distance. For a 1/4 MOA scope at 100 yards, each click is about a quarter inch, so a 1-inch correction takes about 4 clicks. Always confirm the click value in your manual.
Why is my scope blurry when I zoom in?
The usual causes are an incorrect eyepiece setting, parallax, or poor eye relief. Reset the eyepiece on a bright plain background, adjust the parallax knob for your target distance and check that the scope is positioned correctly in the rings.
Do I need to adjust the scope every time I shoot?
No. Once the scope is zeroed and mounted securely, you should not need to touch the turrets. Check your zero after transport, a bump, or when you change ammunition.
Conclusion
Adjusting a rifle scope is a short sequence: mount it with the right eye relief, level it, sharpen the reticle, set magnification and parallax, then use the turrets to move your point of impact. Doing it in that order saves ammunition and frustration.
Take your time, shoot real groups from a stable rest, and make small changes. Check local range rules and your state or local laws on where you can shoot. With a clear picture and a confirmed zero, you can trust your rifle when it counts.